
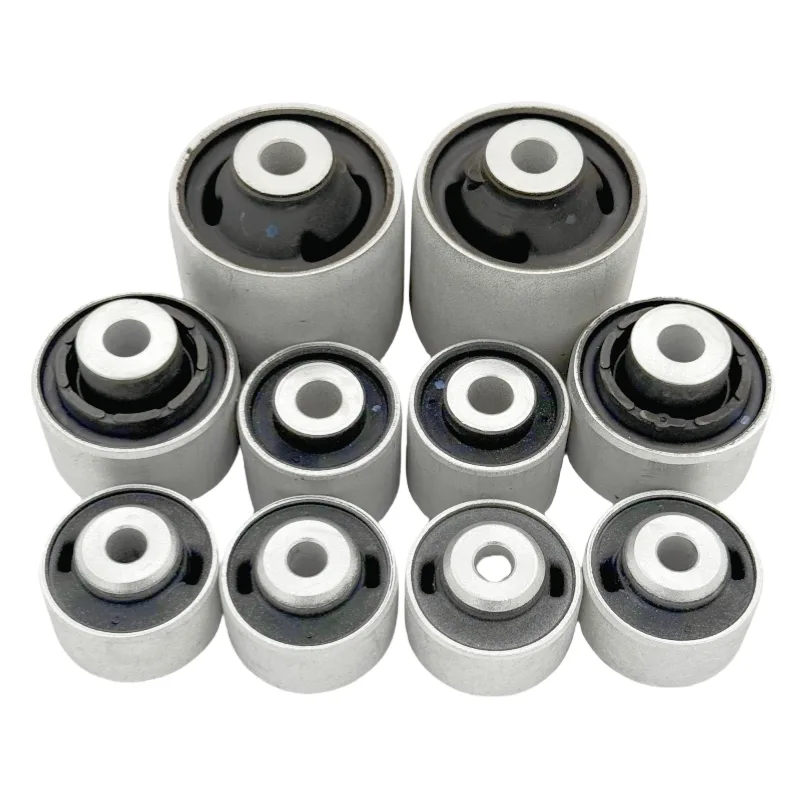
Suspension bushings are critical components that reduce friction and vibration in your vehicle’s suspension system, commonly found in cars, RVs, ATVs, and more. Worn bushings in the lower control arms can cause popping noises, uneven tire wear, and a shaky steering wheel. Replacing them yourself is a cost-effective way to restore your car’s handling and stability. This guide provides a step-by-step process to replace lower control arm bushings, perfect for DIY enthusiasts.
Tools and Materials Needed
- Hydraulic press or threaded ball joint press
- Wrenches (14-15mm, 19-22mm, 20-24mm)
- Socket set and extensions
- Tire iron
- Jack and jack stands
- Hammer
- Flathead screwdriver
- Permanent marker
- Safety gear (gloves, protective eyewear)
- Torque wrench
- Replacement bushings
Part 1: Removing the Control Arm
Step 1: Prioritize Safety
Wear protective eyewear and gloves to shield yourself from rust, debris, or sharp edges while working on your vehicle.
Step 2: Remove the Wheel
Jack up the car and secure it with jack stands. Use a tire iron to turn the lug nuts counter-clockwise until they come off. Gently pull the wheel toward you to remove it.
Step 3: Disconnect the Ball Joint
Locate the ball joint connecting the control arm to the steering knuckle. Remove the cotter pin, then use a 20-24mm wrench to loosen the ball joint nut. Strike the spindle with a hammer to release the taper fit, fully disconnecting the ball joint.
Step 4: Remove the Sway Bar Link
Use a 14-15mm wrench to loosen and remove the sway bar link from the control arm. If it’s stuck, tap it with a hammer to release the taper fit.
Step 5: Unbolt the Control Arm
Use a 19-22mm wrench to loosen the control arm mounting bolts. Secure the nut on the opposite side with another wrench to prevent spinning. Remove the bolts carefully, supporting the arm as it becomes less stable.
Step 6: Remove the Control Arm
Pull the control arm toward you, wiggling it slightly up and down to free it from the mounts.
Part 2: Replacing the Bushing
Step 1: Mark Bushing Orientation
Identify the two points where the bushing’s rubber casing attaches to the outer metal ring. Mark these spots on the control arm with a permanent marker to ensure correct alignment during installation.
Step 2: Remove the Old Bushing
- Preferred Method: Hydraulic Press
Place the control arm in a hydraulic press, aligning the bushing with a socket slightly smaller than its outer diameter. Press slowly until you hear a pop, indicating the bushing is free. Avoid excessive pressure to prevent damaging the arm. - Alternative: Threaded Press
Use a ball joint press with a cup matching the bushing’s size. Operate the screw-jack with a wrench to push the bushing out. - Manual Method (Last Resort)
Strike the bushing with a hammer, focusing on flattening it without hitting the control arm. This method requires patience and is less effective.
Step 3: Remove Excess Rubber
Use a socket to push out any remaining rubber from the bushing. If it’s stuck, carefully separate it from the control arm using a flathead screwdriver.
Step 4: Install the New Bushing
Align the new bushing with the marked orientation on the control arm. Press it into place by hand—it should fit snugly without lubrication, as grease may cause it to slip during use.
Step 5: Secure the Bushing
Use a hydraulic press to fully seat the new bushing in the control arm. Ensure the arm remains stable to avoid misalignment.
Part 3: Reinstalling the Control Arm
Step 1: Reinstall the Control Arm
Slide the control arm back into its mounts, aligning the bolt holes. You may need to wiggle it slightly to fit.
Step 2: Hand-Tighten Bolts
Insert the mounting bolts and tighten them by hand to avoid cross-threading. Do not fully tighten yet.
Step 3: Reconnect the Ball Joint
Insert and tighten the ball joint bolt. Once secure, fully tighten the control arm bolts using a wrench.
Step 4: Reattach the Sway Bar Link
Reinstall the sway bar link and tighten the nut with a 14-15mm wrench.
Step 5: Torque the Mounting Bolt
Use a torque wrench with a socket and extension to tighten the mounting bolt to the manufacturer’s specifications (typically 66-75 foot-pounds).
Step 6: Secure the Ball Joint Castle Nut
Tighten the lower ball joint castle nut and reinsert the cotter pin through the aligned holes.
Step 7: Reinstall the Wheel
Place the wheel back onto the car and tighten the lug nuts with a tire iron until they no longer turn easily.
Final Steps
- Recheck Fasteners: After driving a few miles, retorque all bolts to ensure they remain secure, as new bushings may settle.
- Get a Wheel Alignment: New bushings can affect suspension geometry, so schedule a professional alignment to optimize handling and tire wear.
Tips for Success
- Use impact sockets to avoid shattering standard sockets during pressing.
- Avoid excessive force when using a hammer to prevent damaging the control arm.
- If you lack a hydraulic press, consider borrowing or renting one, as it’s the most efficient tool for this job.
By following these steps, you can replace your car’s suspension bushings and enjoy improved handling and stability.